> For AI agents: the complete documentation index is available at /llms.txt, the full documentation bundle is available at /llms-full.txt.
# How to Enable CPU Passthrough / Host Passthrough
:::warning
1. Your VPS will be shut down/rebooted during this process. It is recommended to shut down the VPS from inside the VPS before using this option.
2. This guide applies only to KVM-based VPSes. OpenVZ-based VPSes have CPU Passthrough/Host Passthrough enabled by default.
:::
Enabling CPU Passthrough "passes through" the host-node CPU to your VPS. This is required when a program needs a specific CPU flag or an identifiable CPU to run.
Enabling CPU Passthrough also allows you to identify the actual CPU available on the host node.
## Enabling CPU Passthrough
### Open the VPS Settings
Click on **Manage** on the VPS for which you wish to enable CPU Passthrough.
 Switch to the **Settings** tab.
 ### Change the CPU Mode
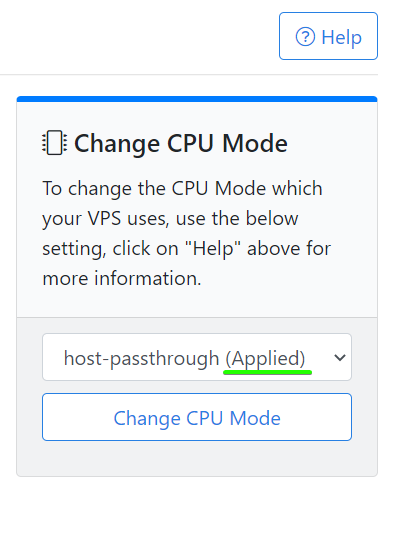
Under the **Change CPU Mode** dropdown, select **host-passthrough**, then click on **Change CPU Mode**.
 ### Confirm the CPU Mode Change
Confirm the change of CPU Mode when prompted.
 ### Wait for the Task to Complete
The panel will then confirm the task. Please wait 2–3 minutes for the task to complete.
 ## Verify the CPU Mode
You can find your current CPU Mode setting on the **Settings** tab. The applied setting is marked with **(Applied)**.
## Check the CPU Information Inside the VPS
Inside the VPS, you can use the following command to find the CPU model, flags, and other CPU information:
```bash
cat /proc/cpuinfo
```