> For AI agents: the complete documentation index is available at /llms.txt, the full documentation bundle is available at /llms-full.txt.
# How to Set a Label on a VPS in CrownPanel
**VPS labels in CrownPanel help you easily identify and organize your VPS instances.** A label can be used to indicate the purpose, environment, or role of a VPS, such as **Production**, **Development**, **Testing**, or **Backup**.
This guide explains how to add and remove labels from a VPS in CrownPanel, and how labels are displayed once they are assigned.
## Adding a Label to a VPS
### Click Manage
Click on the **Manage** button beside the VM you wish to label.
 ### Open the Label tab
Switch to the **Label** tab.
 ### Click Add Label
Click on **Add Label** to add a label to the VPS.
 ### Enter the label details
Enter the label name and select a color for the label. The color can help you quickly distinguish between different types of VPS instances. Once you have entered the details, click **Add Label** to apply the label.
 :::note
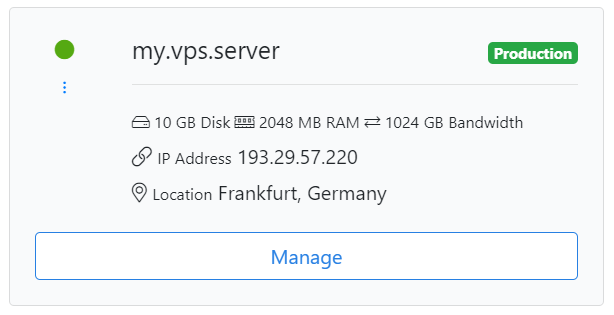
Once the label is added, it will appear on the VPS card, making it easier to identify the VPS.
:::
## Removing a Label from a VPS
:::warning
Removing a label will permanently remove it from the VPS.
:::
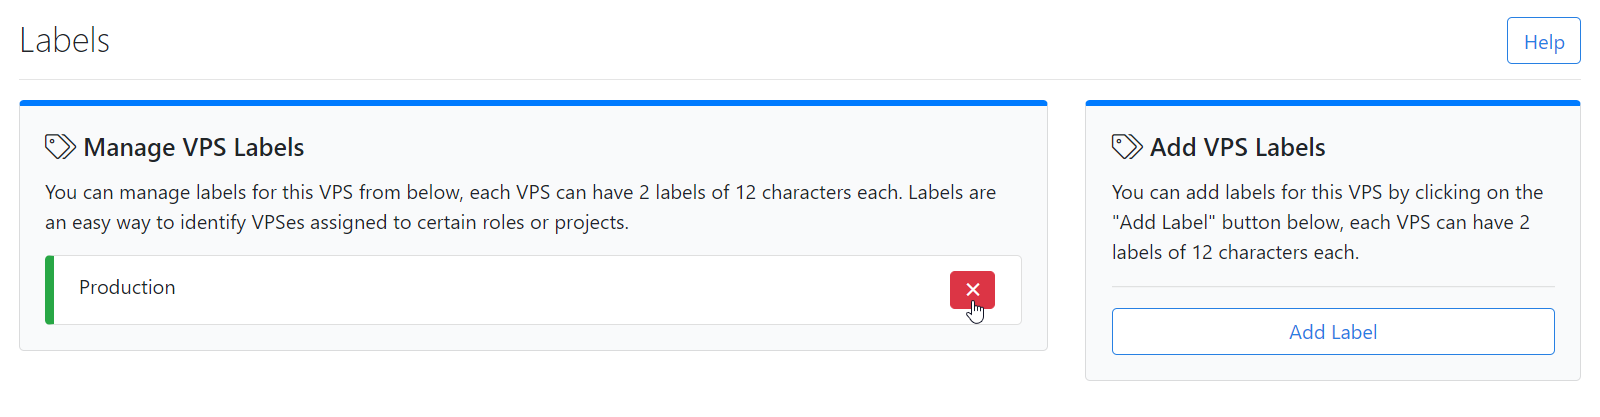
You can remove a label by clicking the cross mark, as shown in the screenshot below.