> For AI agents: the complete documentation index is available at /llms.txt, the full documentation bundle is available at /llms-full.txt.
# Getting Started with Incredible PBX 2020
This guide shows how to install Incredible PBX (CentOS-based) from CrownPanel.
The Incredible PBX 2020 template is available to everyone, and there is no need to create a support ticket for it.
:::warning
The first IP address that accesses the Incredible PBX server is whitelisted, and the same IP address is required to access the server again. We recommend using a VPN or configuring a static IP on your local system, so you can always reach the server remotely.
:::
## Install Incredible PBX
### Reinstall with the Incredible PBX image
Incredible PBX can be installed with the 1-Click reinstall option in CrownPanel. You can find it under **Application Images**, labelled **IncrediblePBX 2020**.
For instructions on how to reinstall, see [How to Reinstall Your KVM VM Using One-Click on CrownPanel](/crownpanel/installation_and_iso/reinstalling_your_kvm_vm_using_one_click_on_crownpanel.md).
 ### Connect to the server over SSH
SSH into the server to complete the remaining installation steps. From here on the process is interactive, and the system prompts you for some configuration inputs.
### Set a new root password
Set a new root password when prompted.
 ### Set the admin password
Set an admin password for the FreePBX web application. You may see errors after setting it. This is normal, because the services have not been configured yet.

 ### Reboot and reconnect
You will be prompted to reboot the server. After the reboot, connect back to the server. The configuration resumes and the services are configured.
 ### Finish the installation
Once the installation process is complete, a final configuration window is displayed.
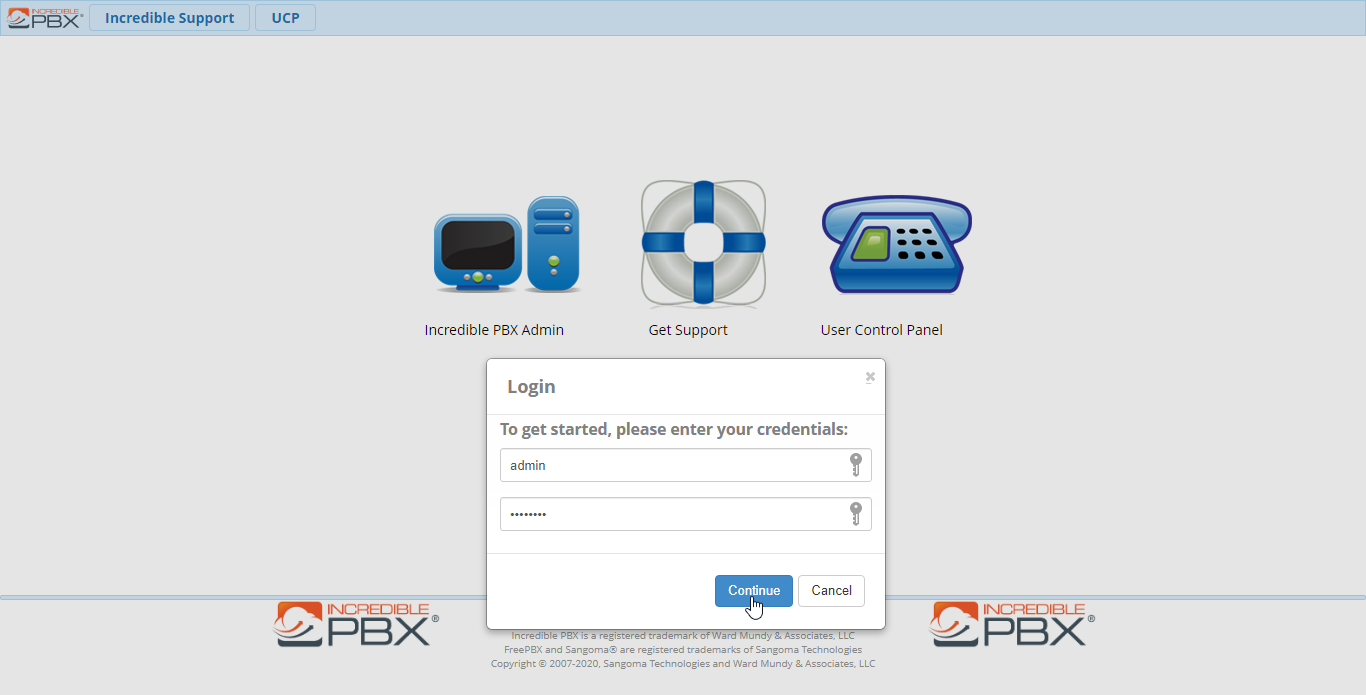
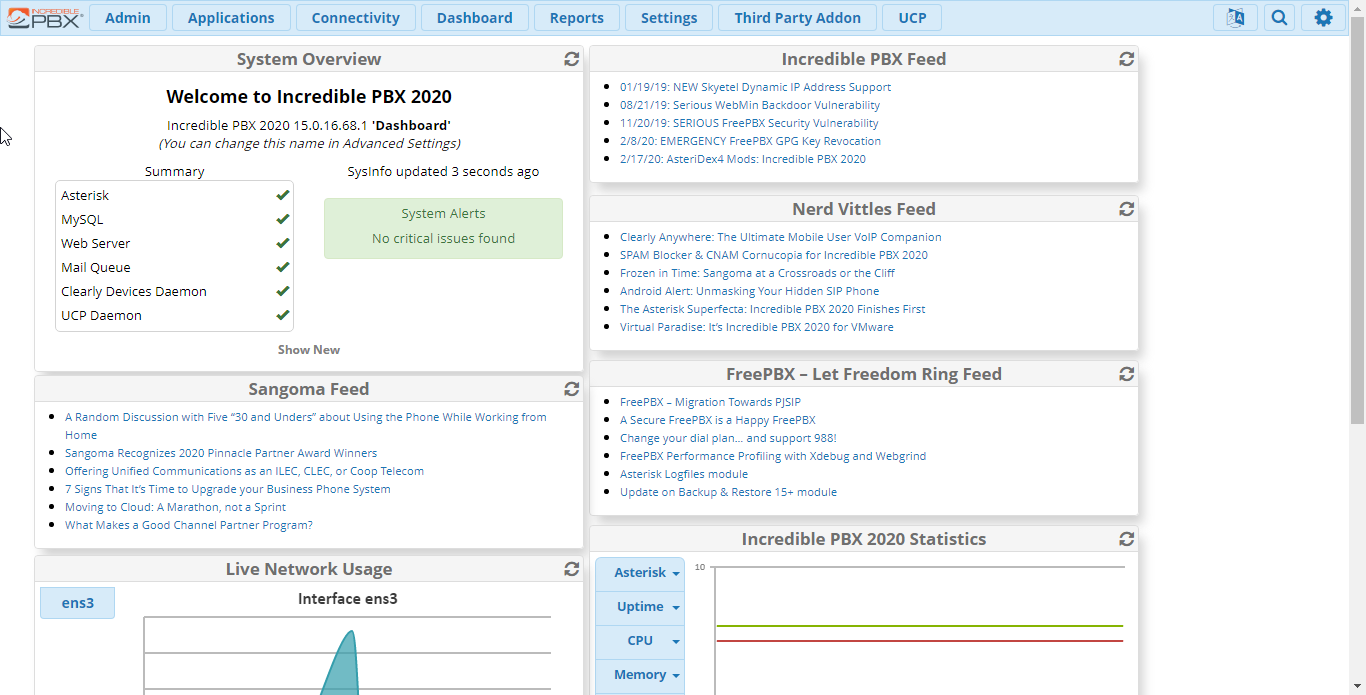
 ## Access the Incredible PBX Admin Panel
Open a browser and go to:
```
http://server-ip-address/
```
Log in with:
- **Username:** `admin`
- **Password:** the admin password you set during the installation.
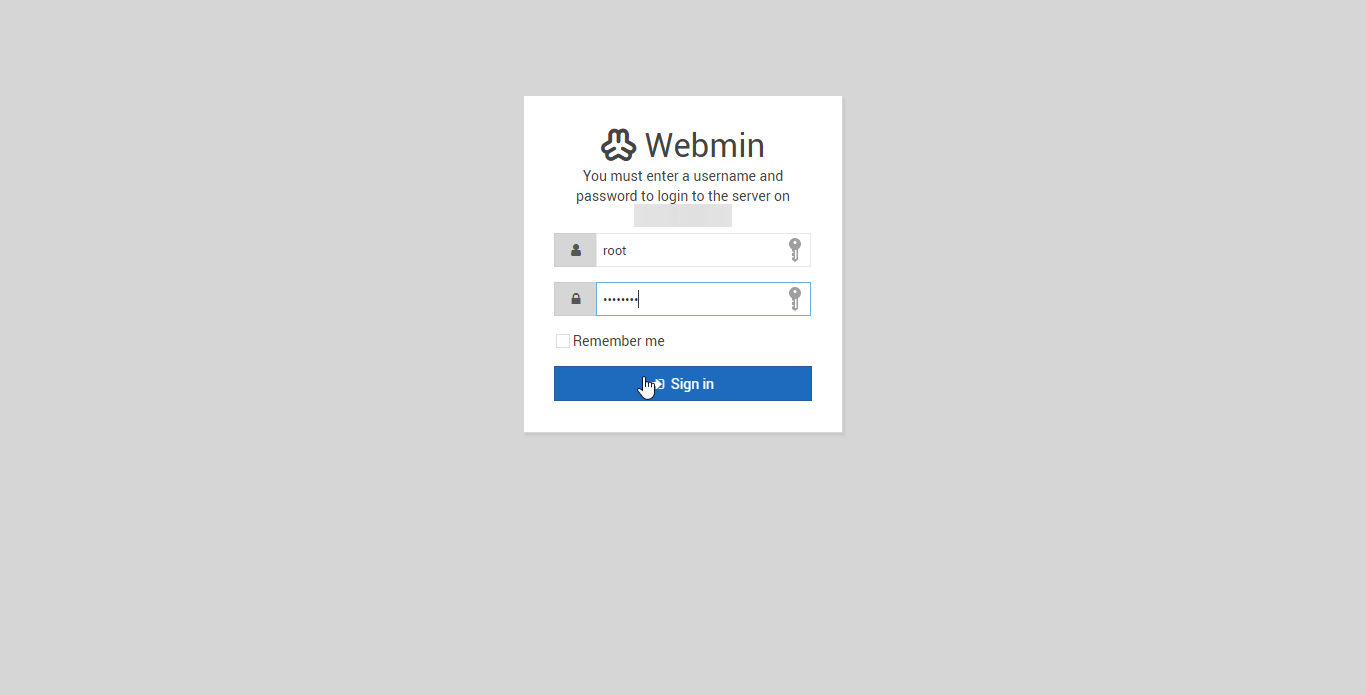
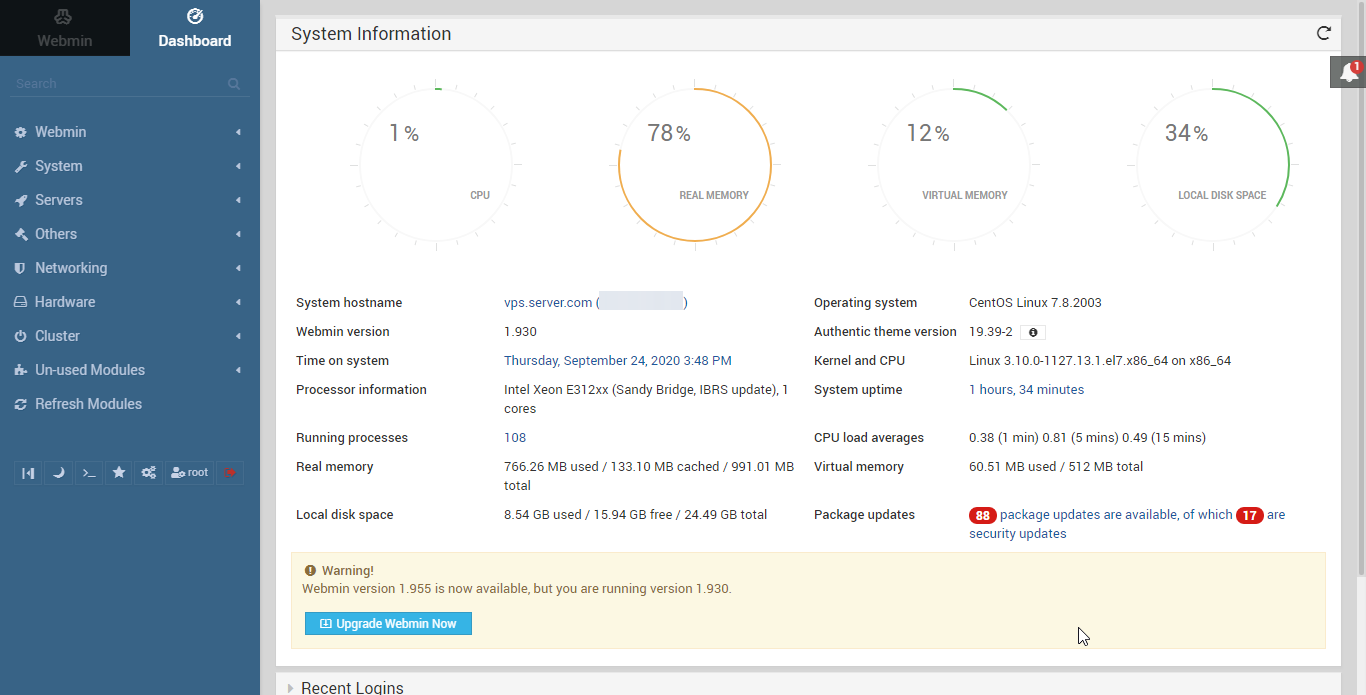
## Access Incredible PBX Webmin
Open a browser and go to the following URL, including the port:
```
https://server-ip-address:9001
```
Log in with:
- **Username:** `root`
- **Password:** the root password you set during the installation.
This completes the Incredible PBX installation on CrownPanel.
## Related Guides
- To whitelist an IP address, see [Whitelist IP Address on PBX](/general/pbx_management/whitelist_ipaddress_on_pbx.md).
- If you face technical difficulties, contact us via a [Support Ticket](https://crowncloud.net/clients/submitticket.php).