Getting Started with Your IncrediblePBX Instance at CrownCloud
This guide will help you get started with your IncrediblePBX Instance.
We recommend using the latest stable version for better security, features, and support.
Choose your IncrediblePBX version
IncrediblePBX is available in multiple versions:
- IncrediblePBX 2027
- IncrediblePBX 2022
- IncrediblePBX 2021
Install the version
Install your chosen version from the CrownPanel menu.
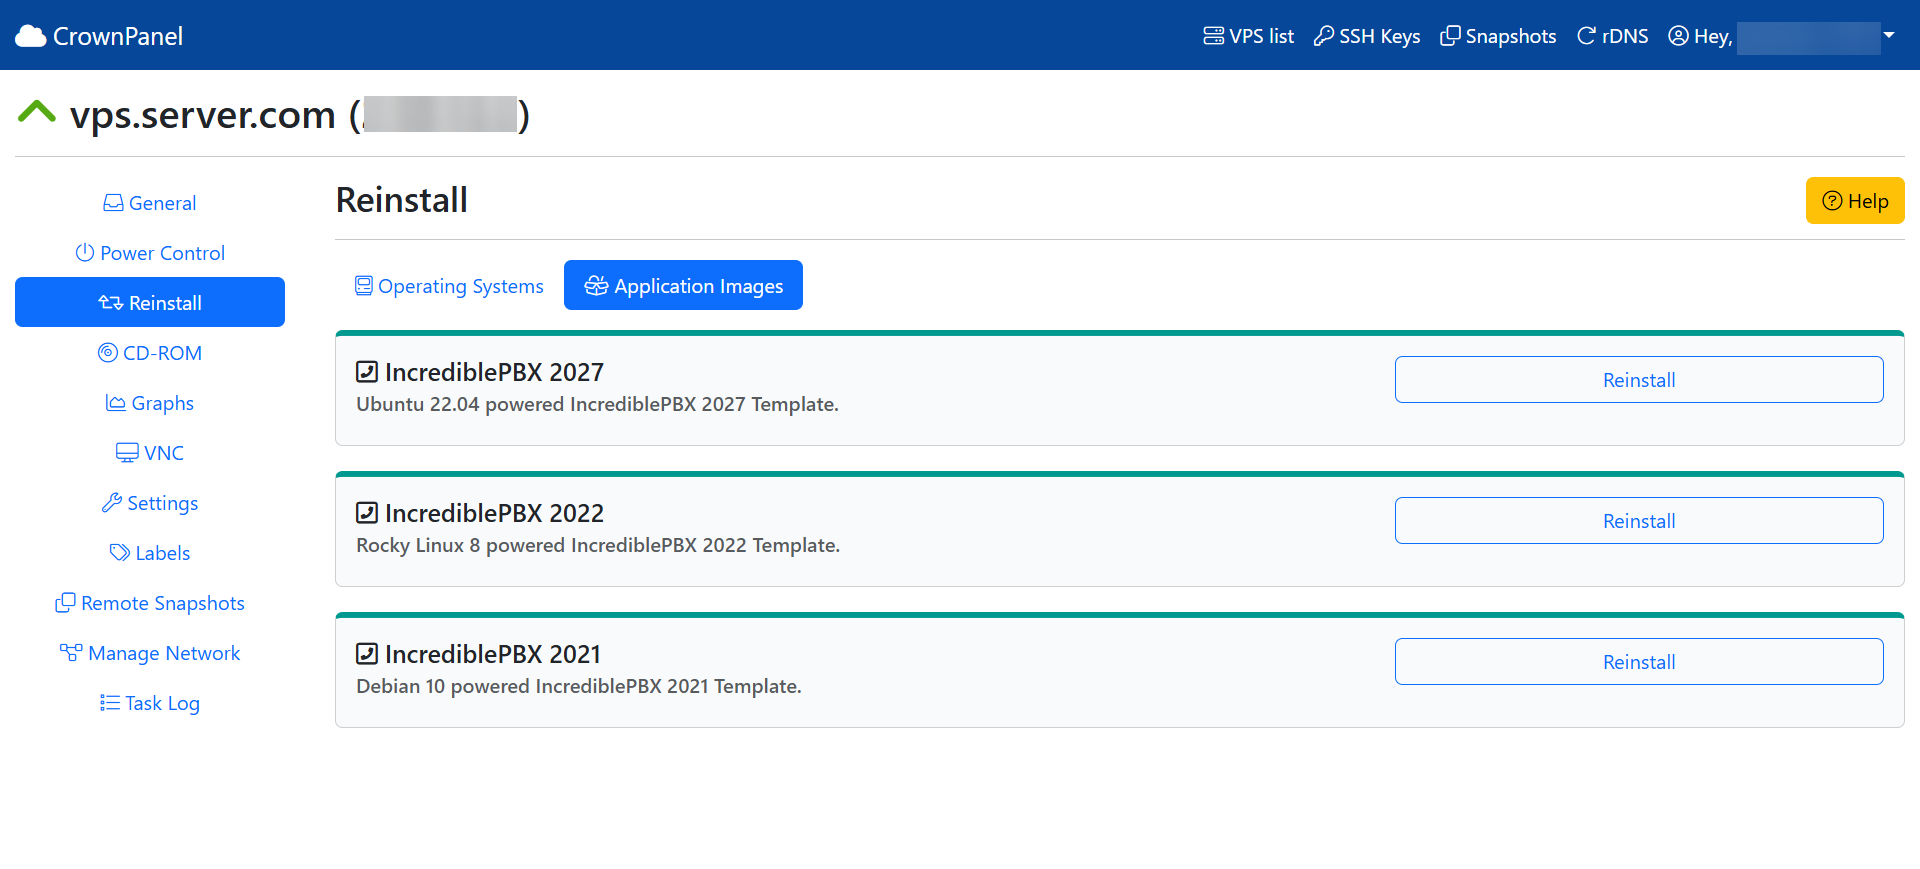
You can reinstall at any time to change the version via the same menu. A reinstall resets your VPS to a clean, fresh state.
Connect via SSH
Connect to your IncrediblePBX instance via SSH using a terminal or PuTTY. Use the IP address of your VPS, the username root, and the password displayed in CrownPanel in the previous step.
Complete the server configuration
Once you log in, you will be taken through an interactive server configuration mode to help you set up the PBX according to your requirements.
Additional Commands
Change your root password
Change your root password for SSH/PuTTY access.
Make sure to set a strong and unique root password for SSH/PuTTY access.
Set the admin GUI password
Set the password for GUI access via a web browser as the admin user.
Set the Apache admin password
Set the password for Apache admin access to AsteriDex and Reminders.
Set the AvantFax email address
Set the email address for delivery of faxes.
Set the time zone
Set the correct time zone for your server.
Configure SendMail with Gmail
Configure SendMail to use your Gmail account to deliver emails from your server.
Whitelist IP addresses
Whitelist additional IP addresses for server access.
Whitelist FQDNs
Whitelist FQDNs for server access.
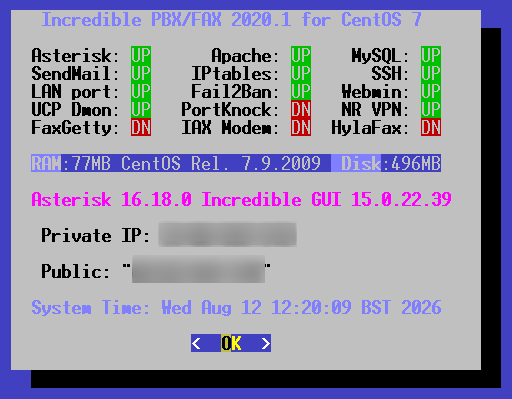
Check PBX status
Check the current PBX status and service availability on your server.
Example output: