

Changing Your VPS Hostname on CrownPanel
In this article, we will show you how to change your VPS hostname using CrownPanel and how to verify or change the hostname from within your VPS.
You can change the hostname either from CrownPanel or directly from within your VPS using the command line.
Changing the Hostname in CrownPanel
Log in to CrownPanel
Log in to CrownPanel.
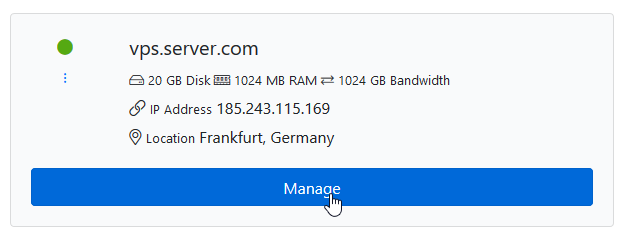
Click Manage
Click on the Manage button beside the VPS you wish to edit the hostname for.
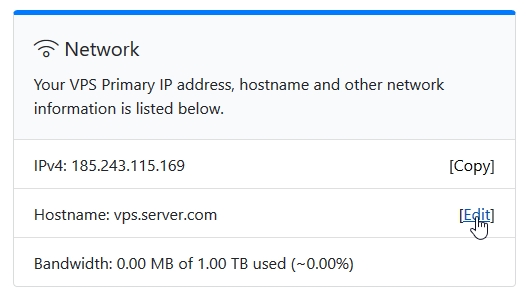
Click the hostname
Click on the Hostname listed beside the IP address.
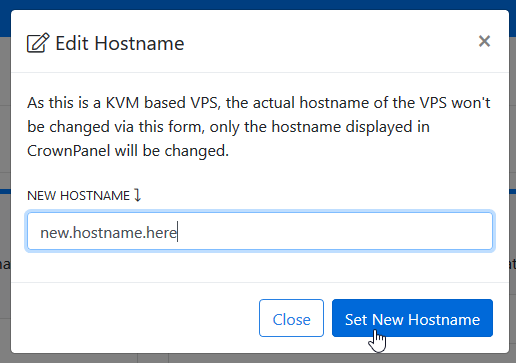
Edit the hostname
A form will open where you can edit the hostname as you wish. Once you save it, the VPS hostname is updated.
CentOS / AlmaLinux / Rocky Linux
View the current hostname
Run:
Alternatively, use hostnamectl status to quickly view the current hostname and other system information:
Change the hostname
Run the following command, replacing YOUR_PREFERRED_HOSTNAME with your desired hostname:
For example, to set the hostname to myvps:
Verify the new hostname
After changing the hostname, verify it using:
The new hostname should be displayed under Static hostname.
Ubuntu / Debian
View the current hostname
To check the current hostname, run:
The output will look something like this:
Change the hostname
Replace YOUR_PREFERRED_HOSTNAME with your desired hostname:
Verify the new hostname
Open a new terminal session after changing the hostname and run:
The new hostname should be displayed under Static hostname.
Conclusion
You have successfully learned how to change and verify your VPS hostname using CrownPanel or the command line on CentOS, AlmaLinux, Rocky Linux, Ubuntu, and Debian systems.