How to Set a Label on a VPS in CrownPanel
VPS labels in CrownPanel help you easily identify and organize your VPS instances. A label can be used to indicate the purpose, environment, or role of a VPS, such as Production, Development, Testing, or Backup.
This guide explains how to add and remove labels from a VPS in CrownPanel, and how labels are displayed once they are assigned.
Adding a Label to a VPS
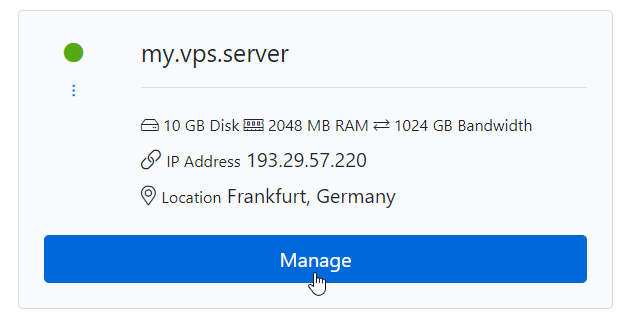
Click Manage
Click on the Manage button beside the VM you wish to label.
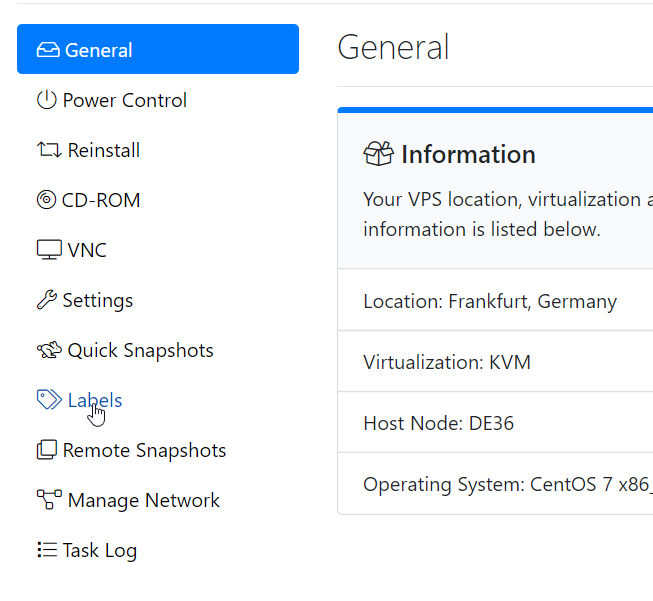
Open the Label tab
Switch to the Label tab.
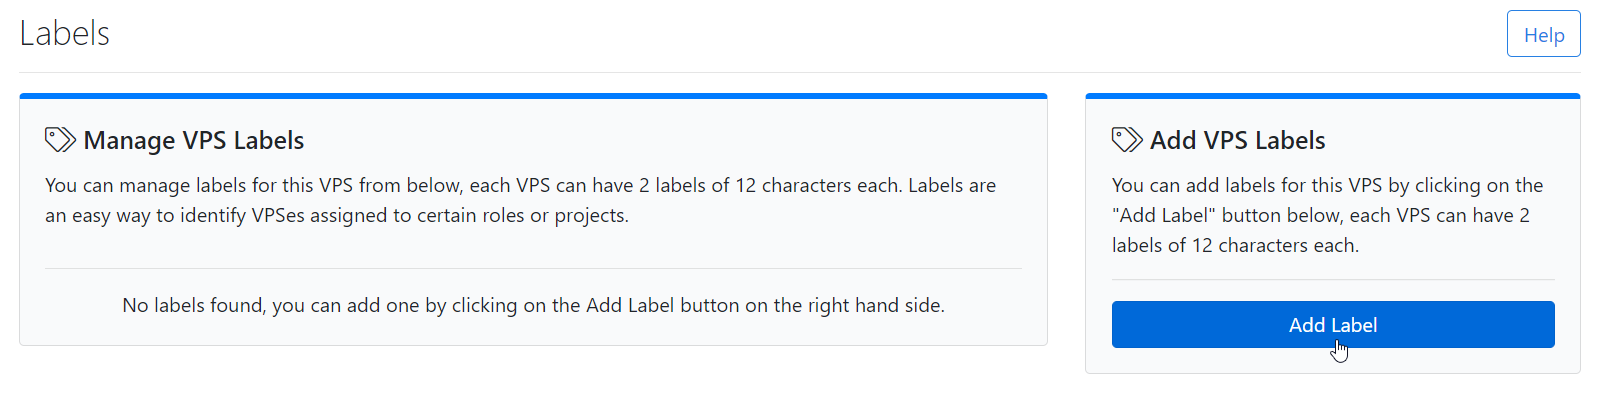
Click Add Label
Click on Add Label to add a label to the VPS.
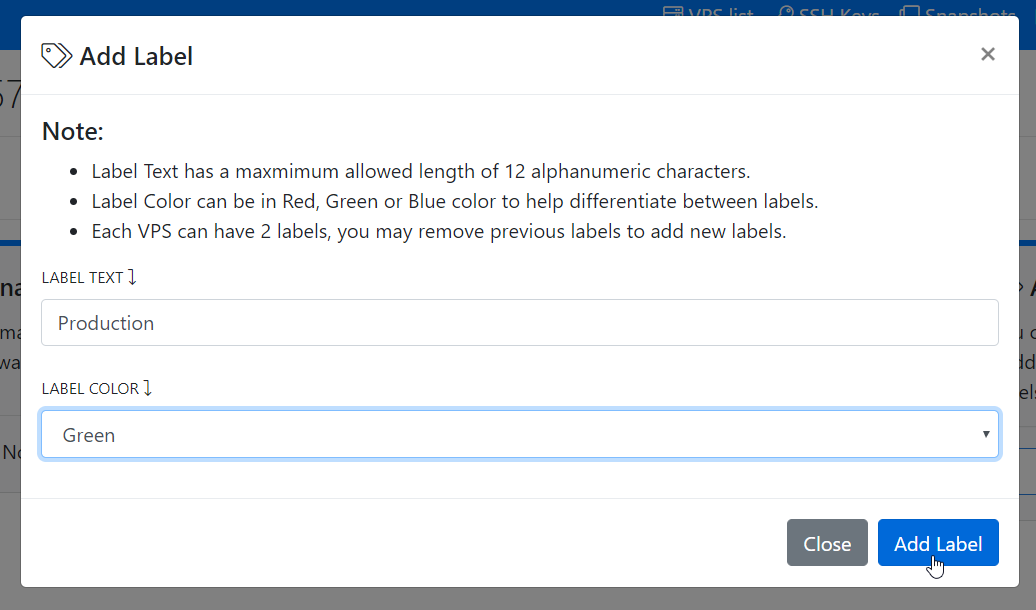
Enter the label details
Enter the label name and select a color for the label. The color can help you quickly distinguish between different types of VPS instances. Once you have entered the details, click Add Label to apply the label.
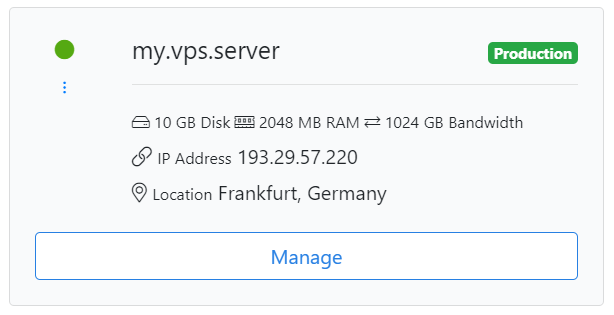
Once the label is added, it will appear on the VPS card, making it easier to identify the VPS.
Removing a Label from a VPS
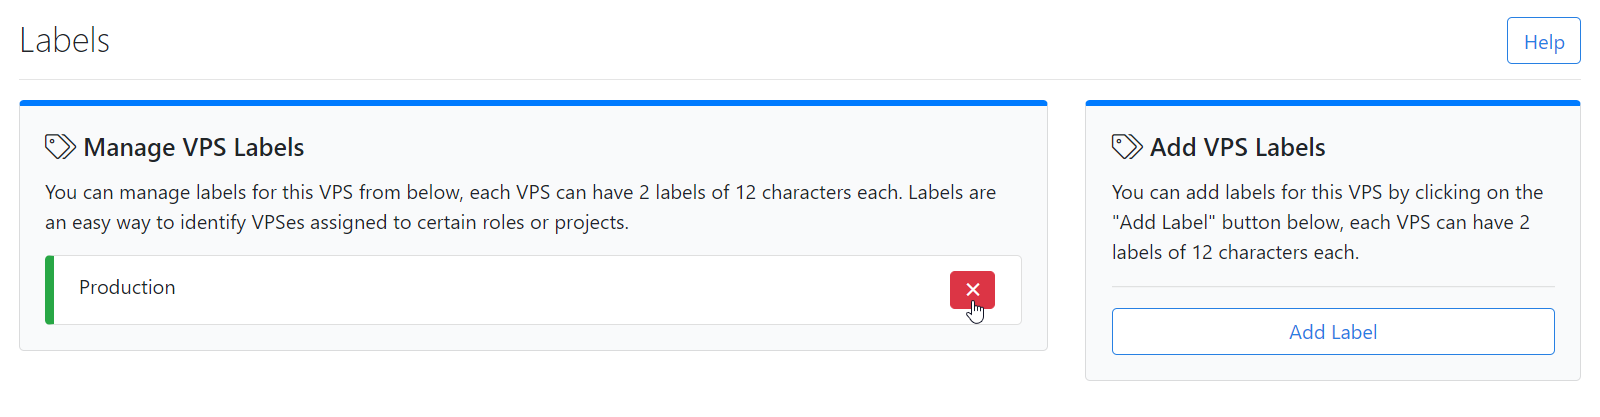
Removing a label will permanently remove it from the VPS.
You can remove a label by clicking the cross mark, as shown in the screenshot below.